Bricksbuilder Bento Integration


Welcome! You've installed the Bento plugin for WordPress and you're using Bricks to build your site. Great choices.
The good news is: getting Bento connected to your forms is straightforward, and this guide will walk you through the entire process.
How Bento Connects to Your Bricks Forms
Bento listens for forms you build inside Bricks. When someone submits your form, Bento receives the form data automatically and processes it, so you can track submissions, use the form submissions to trigger automations, and collect information without any extra work behind the scenes.
Let's go step-by-step.
Do I need to do anything special when building my form?
Just a few things:
- Bento's WordPress plugin must be installed and the API keys configured. Wordpress install guide.
- Build your form as you normally would inside Bricks.
- Add the fields you want — Name, Email, Message, or anything else.
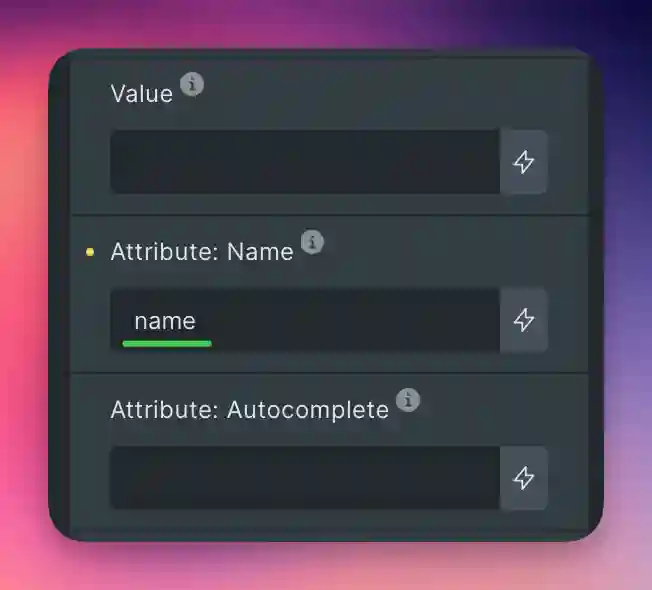
- If you are not already, make sure to enter an
Attribute Namefor each field. - You do not need to install any extra extensions or change your workflow.
It is worth looking at how some fields are already named in Bento if you already have subscribers. This prevents existing subscribers have first_name and new subscribers from Bricks using fname or fname for example.
Do my form fields need special names or prefixes?
No special names are required. With one caveat: if you are using a field that already exists in Bento, you will need to enter an Attribute Name for that field so they match. Additionally make sure you add an Attribute Name for the email field.
- You can name your fields anything you want.
- Bento automatically captures all submitted fields behind the scenes.
- If you're adding custom fields, Bento will receive and store them as part of the form data.
If you're migrating from another system or using existing forms, you don't need to rename fields. Bento handles it gracefully.
Atrribute Names are how the fields will be named in your Bento event. So giving every fields an Attribute Name is not required, it can be helpful to give them names that make sense to you. Make sure the email field has an Attribute Name of email.
What do I select in Bricks when setting up my form actions for Bento?
This is the one setting you must configure to activate Bento:
- In Bricks, scroll down to your form's "Actions after submit" section.
- From the dropdown, select: Custom
That's it. Once you've selected Custom, Bento is automatically connected to this form.
You don't need to configure any settings panels, add extra plugins, or write any code.

Are there any extra steps after selecting "Custom"?
Nope. Once you've chosen Custom, Bento's integration takes care of the rest.
- Every time a visitor submits the form, Bento receives the data.
- Any automations or events you've configured in Bento will trigger as expected.
- You can test your form just like any normal Bricks form to confirm it's working.
Bento listens for submissions made with the "Custom" action. It processes the data automatically — you don't need to manually map fields or add webhooks.
Are there any form limitations?
Bento supports nearly everything you can build in Bricks Forms, but there are a few helpful things to know:
| Feature | Supported? |
|---|---|
| Standard fields (text, email, number, textarea, etc.) | Fully supported |
| Custom fields | Fully supported |
| Conditional fields | Supported (as long as they submit data) |
| Multi-step forms | Supported |
| Multiple actions | Only one Custom action can be selected |
Bricks only allows one Custom action per form. If you're using other plugins that also listen to Custom form actions, they may also process the submission. Bento is designed to ignore forms that aren't intended for it, but it's best not to stack multiple "Custom" plugins unless you know how they behave. Test your forms before deploying them to production.
Other integration details you might find useful
- Form submissions appear in Bento under your regular event tracking, allowing you to automate follow-ups, segmentation, or campaigns.
- If you ever change your form fields, Bento automatically adapts. No remapping required.
- Bento listens across your entire site — you can use as many forms as you want.
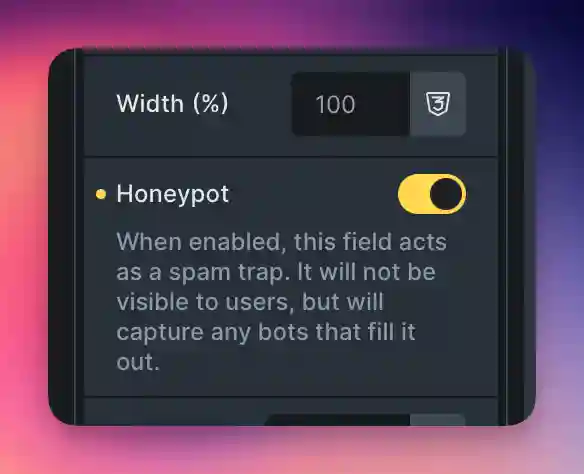
- Form submission spam is a common issue. Bricks has a built in honeypot field that can be used to prevent spam. We recommend using it when possible.
Quick Recap
- Build your Bricks form like normal.
- Make sure you include an email field.
- In "Actions after submit", select Custom.
- You're done. Bento handles everything else automatically.